Requirements
- Apache 2.2 or More ..
- Download XAMPP
- PHP 7.0 and more
- MySQL 5.6, 5.7 or later
- Magento 2 setup
The version I have used:
*Apache version: Apache/2.4.41 (Win64)
* XAMPP version: 3.2.4
* PHP version:7.1.33
* MySQL version: 8
* Magento version: 2.2.3
1) First, download and install the XAMPP. Follow the installation setup.
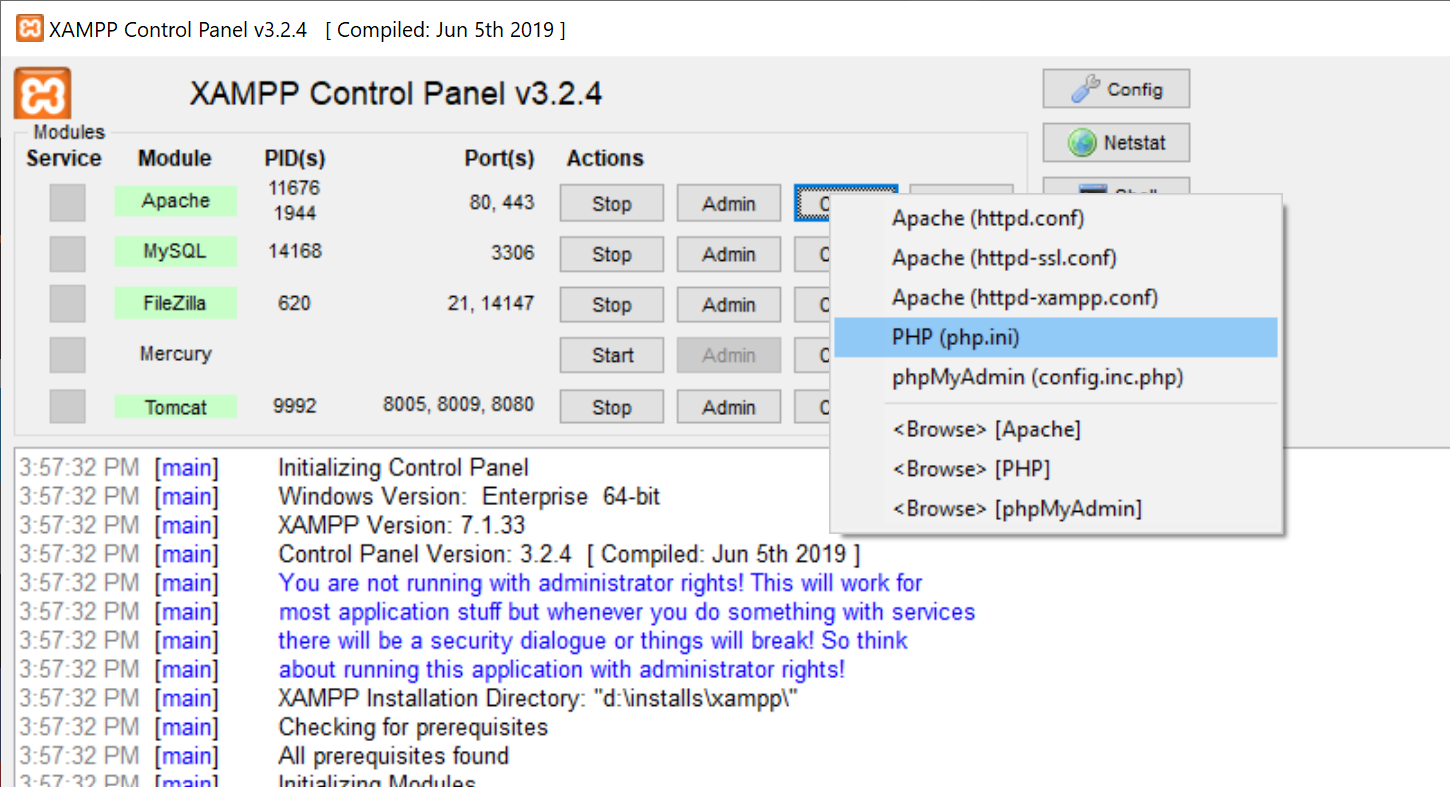
 Once the installation done, Run the xampp control application.
 Before starting the apache server, please enable few extensions in php config file.
List of items to enable in php.ini
Before starting the apache server, please enable few extensions in php config file.
List of items to enable in php.ini
extension=php_intl.dll
extension=php_xsl.dll
extension=php_soap.dll
* Once done start the apache server, mysql, filezilla and Tomcat.
2) Create a mysql db named "magento2". In Xampp click in the Admin
 and you will get phpmyadmin. Then create a table in name "magento2"

3) Now we are good to get the Magento installation. Download the Magento from the link given above: Magento 2 setup
Once download completed, extract the Magento zip files to xmapp installation directory under htdocs folder in name as magento
 4) Open the web browser and explore localhost/magento. Then click on Agree and Setup Magento.
The first step for installing Magento 2 on localhost is to perform a Readiness check. After successful checking, click on Next.
 Now the database configuration page will appear. Here, enter database details and database name which will be the same as the one you created in phpMyAdmin (magento2). After completing this step, click on Next.
 Now complete the web configuration, put the 127.0.0.1 localhost ip, and admin panel address. After web configuration, click on Next.
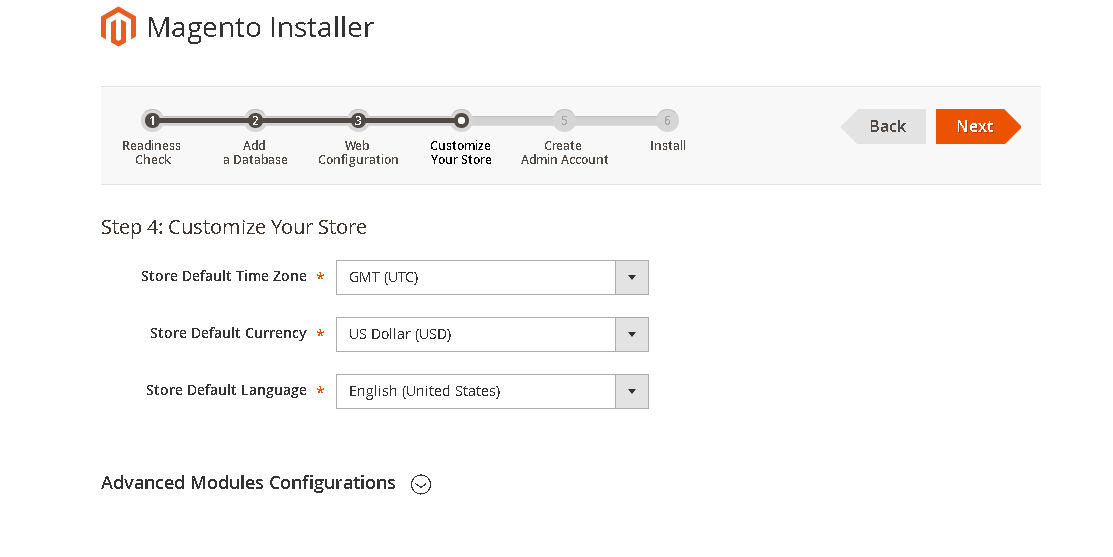
 Now customize location and click on Next.

Create an Admin account and click on Next.
 * Remember the user id and password for future use
Now we are ready to go. Just hit the Install, this may take a while.
 Once the installation done, Open web browser and hit 127.0.0.1/magento. you should get home page.


Admin Magento url will be: http://127.0.0.1/magento/admin
That's it you are done :) .....

extension=php_xsl.dll
extension=php_soap.dll
* Once done start the apache server, mysql, filezilla and Tomcat.
2) Create a mysql db named "magento2". In Xampp click in the Admin

and you will get phpmyadmin. Then create a table in name "magento2"


No comments:
Post a Comment